Friday, September 27, 2013

Dead after this week, but still have a finish

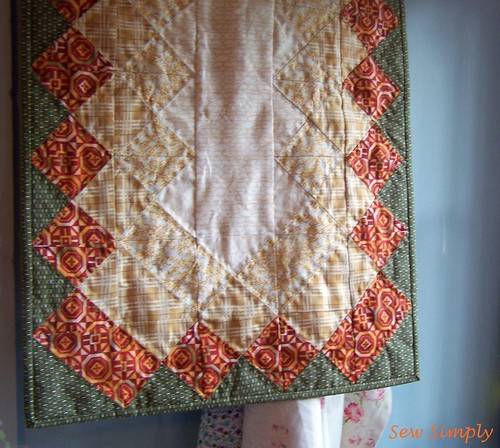
I decided to take the Mercy Ships job, but I haven't started yet.  I've been busting butt in the frame shop all week (I think I'm at 40 hours already, and I'm about to go in for another 8-hour shift.)  Anyway, as a way to wind down after work, I've been working on my hand quilted QST table runner that has been a WIP FOREVER.

I finally finished it! Just in time to move into the new house and Thanksgiving.  This weekend I get to sew on Sunday, and I'm very thankful for that.  (I guess I should also squeeze a painting in there). 

Finished Runner

Finished Runner 2

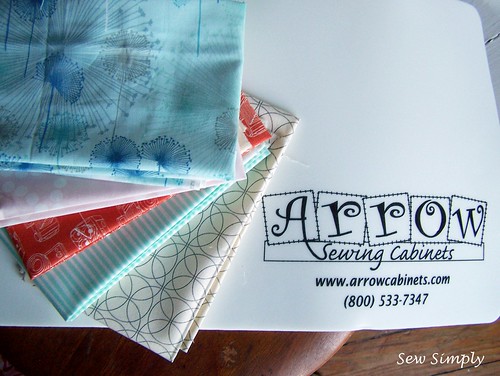
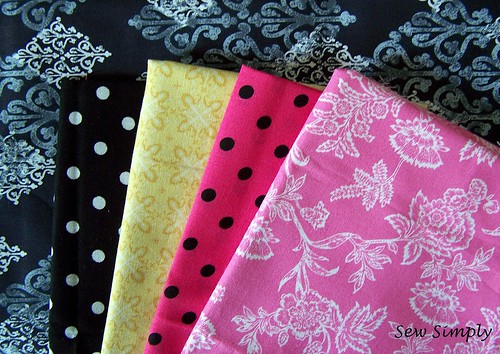
In other news: I won a little giveaway a few weeks ago, and got my package in the mail from Alyssa at Pile O'Fabrics from participating in her weekly stash share.  The very same day I received my muffler mat from sending a photo of myself holding the most recent Fons and Porter to Arrow Sewing Cabinets.  Here are the things I got in the mail :)


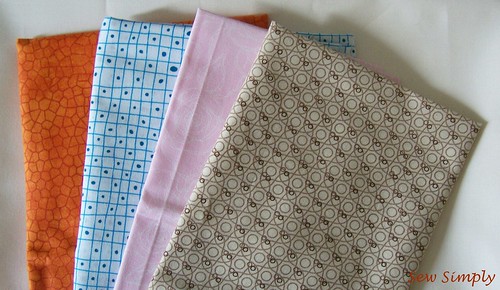
Prize Goodies
Thanks for reading!
Cassie

Tuesday, September 17, 2013

Stash Share 11

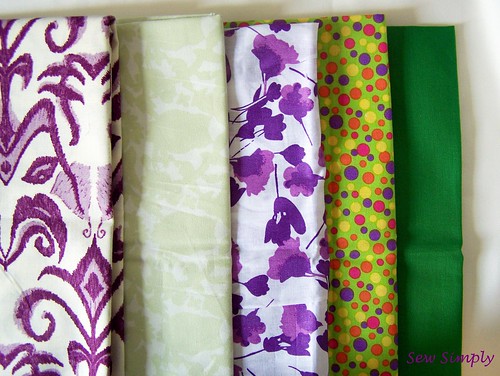
Since I have the time today, I thought I'd make a stash share post, and give a shout-out to Alyssa at Pile 'O Fabrics for getting this weekly share going. I found this last week, and challenged myself to share each week.

Here is a link to this week's selection: Stash Share 11.

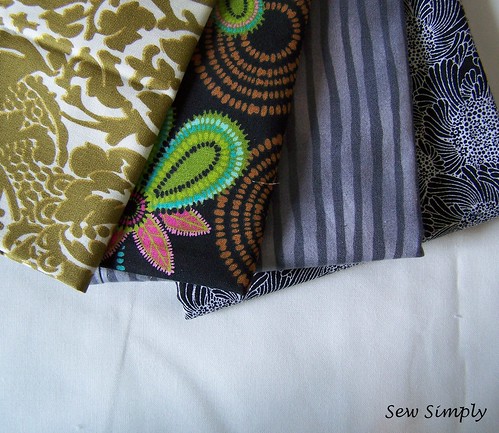
Here are my selections:
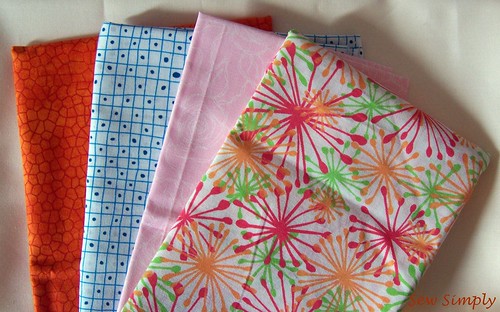
Stash Share 11
Thanks for reading!
Cassie

Finally had a chance...

To sew something.  I love my new job, but it's killing my studio time.  (Not to mention, I had to make a painting for a commission.) 

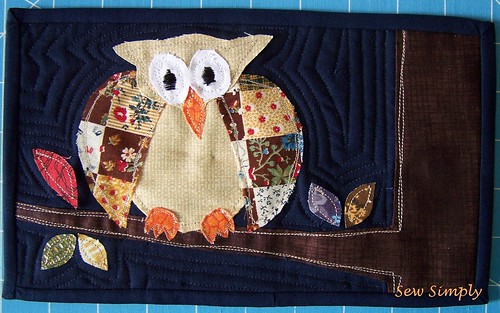
So, the good news is: I finished my first Mug Rug for the swap.  I'm going to share it on here, and hopefully whoever ends up being my partner doesn't see it - I want it to be a surprise! I made it from my own design and got a little crazy with my applique.. I probably wouldn't do that if I could do it over again. 

Owl

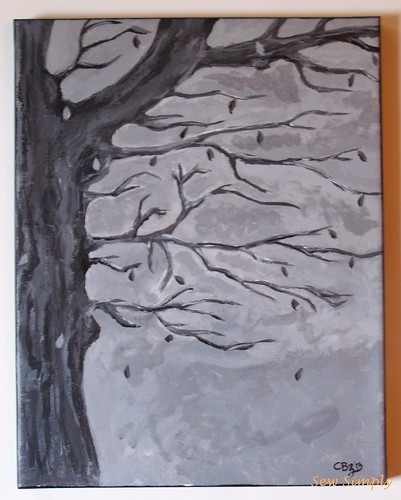
Here is a picture of the painting I made for the commission. . .
Tree
Thanks for reading!

Cassie

Thursday, September 12, 2013

Tutorial Thursdays


Welcome to Tutorial Thursdays!  This week I want to share one of the very first tutorials I ever did..  it's from Vanessa the Crafty Gemini.  She makes things so easy to understand, and I definitely love video tutorials!  I hope you take the time to check out this video - and make one!

Here is a photo of my cover that I made about a year ago when I first started sewing/quilting.  I've improved GREATLY since then, but it's nice to think that my very first concern was to take care of and protect my sewing machine. 


Please hop on over to her page and youtube channel and check out the other great tutorials she has!
YouTube Channel
Crafty Gemini

Other News: 
I have been thinking about how to get participation up for this - I think I'm going to ask for others to "host" Tutorial Thursdays, and promote their blogs from here.  Thoughts?  Any takers?

Now for the linkup:

Sew Simply


Wednesday, September 11, 2013

A last minute WIP post

Normally, I post something for WIP Wednesday.. so today, I think I'll make a last minute post before bed.

I have a few things I've been working on this week: First- the Craftsy BOM 2012... this one has taken WAY longer to complete than I wanted, so hopefully I can finish it soon; that's what I get for not buckling down and finishing, I guess!

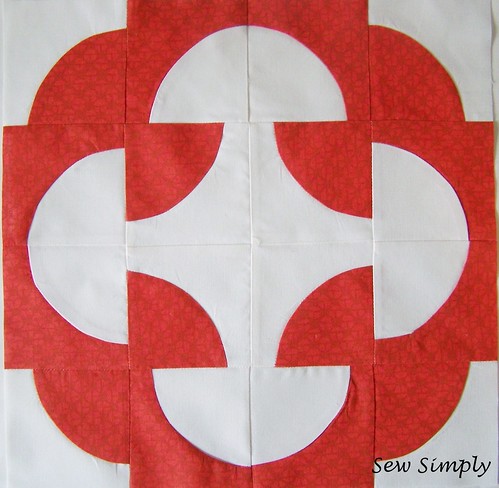
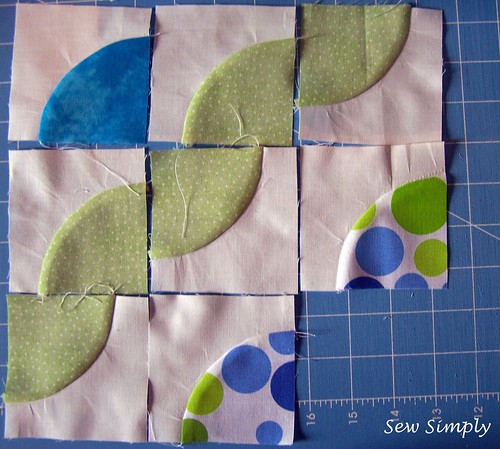
So here are the two drunkard's path blocks that I made for the BOM. I started moaning about making them here, but by the end, I didn't mind them so much.  Maybe I'll do another curved piecing project in the future. 


Chain

C-Puzzle

I also joined in on a Mug Rug Swap today here.  I started pulling fabrics that I wanted to use for that.  I made a grand mess of my workspace, but it was fun!

Fabric Picking

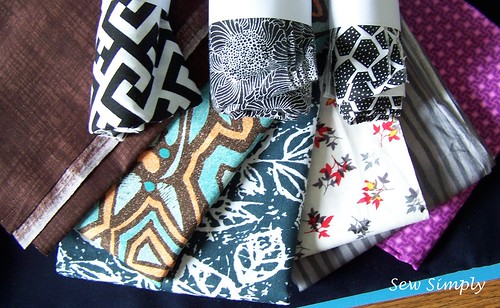
I made a shopping trip to search for brown fabric, and came back with all this - (I got a GREAT deal on all this fabric, too. I think I paid something like $0.80/ea. for the rolled remnants on top of the stack!)

Haul

At 5, I got a call from my realtor telling me that they accepted our bid for the house that we are trying to buy (are buying)!!  SQUEEEEL!  I can't wait until we close and move in!  Plenty of ideas for my new sewing room!

Then after I calmed down, I started working on my first Mug Rug for the swap.  My own design that I sketched out, and am hand appliqueing.

Tree
Notice: I did bring home brown fabric ;)

Thanks for reading!
Cassie

Linking up with Lee @ Freshly Pieced for WIP Wednesdays. :)

First Swap Ever

So I just registered for my first swap - I'm probably overly excited! I was just thinking yesterday that I wanted to make a mug rug for my desk, and now today I've received an email about a mug rug swap. Naturally I joined in. I've been waiting for a swap to join in on, and this one was exactly what I wanted.

Join in here:
Fall-Inspired Mug Rugs Swap

Maybe you'll be my partner.

Thanks for reading!
Cassie

Tuesday, September 10, 2013

Stash Share Compilation!

Hi there!

Yesterday was my first day as a framer/painting instructor. I'm beat.. but I thought today I'd join in on the Stash Share over at Pile 'O Fabric.

Pile O' Fabric

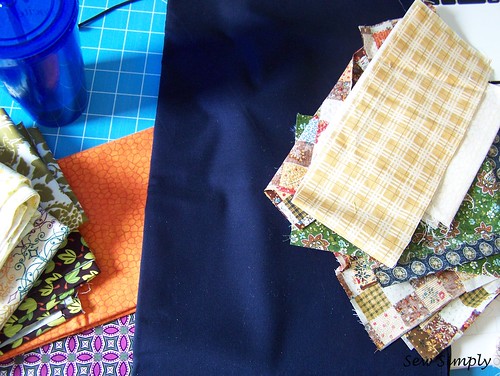
Anyway, I'll cut right to it - with a little background on my stash share today. I blogged about my mom giving me much of my stash when I started quilting/sewing. So I really have no idea where most of it came from - but I love it even more because it was hers. So today, my stash share is from the pieces of fabric that my mom gave me.

Stash Share 9-10 2
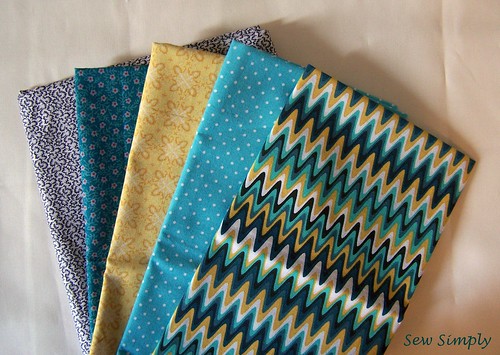
{#10}These were my initial fabric choices. The tan fabric is actually much, much lighter, I just could not get my photographs to cooperate, and I'm too tired to figure out why!


Stash Share 9-10
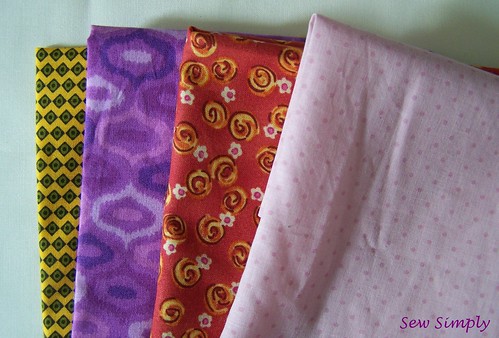
{#10 - 2} I chose an alternative to the tan, with a pop of green for my custom bundle. I'm not sure which I prefer.. I don't really have another that fits better than either one at the moment. My creamy neutrals are wiped out at the moment!

I guess I will go back and do prior weeks, I'm on a roll!

{#9}

Stash Share 8
{#8}

Stash Share 7
{#7}  The fabric to the far left is a piece of vintage sheet that I found.  So cute :)

Stash Share 6
{#6}

Stash Share 6
{#5}

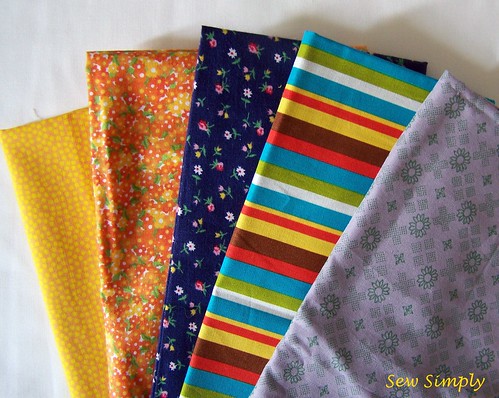
Stash Share 5
{#4}

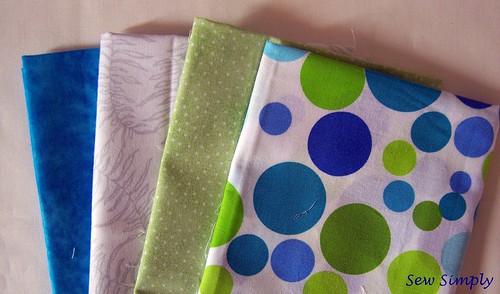
Stash Share 3
{#3}


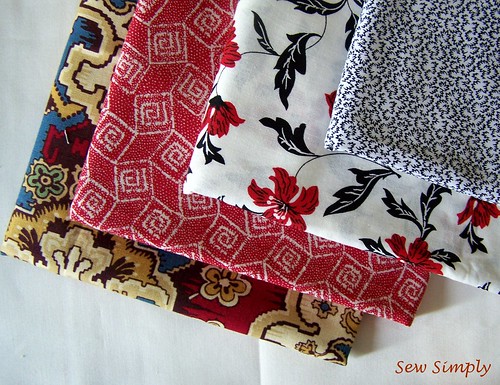
Stash Share 2
{#2} I have several yards of the back fabric.

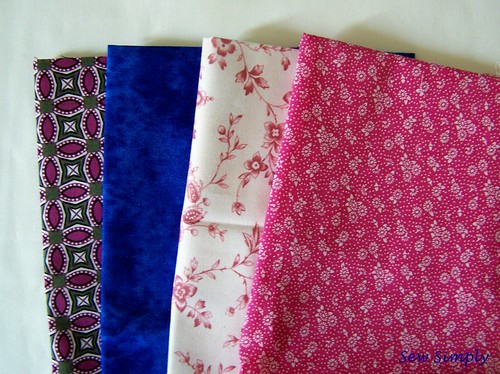
Stash Share 1
{#1} The middle piece is another vintage find. 
Well, that's it for my first official stash share. Linking up with Alyssa at Pile O' Fabric - and it just so happens that she's doing a giveaway of her custom stash. If you have time to do it today, you might want to join in :)

Thanks for reading!
Cassie

Saturday, September 7, 2013

The Opposition: Curved Piecing

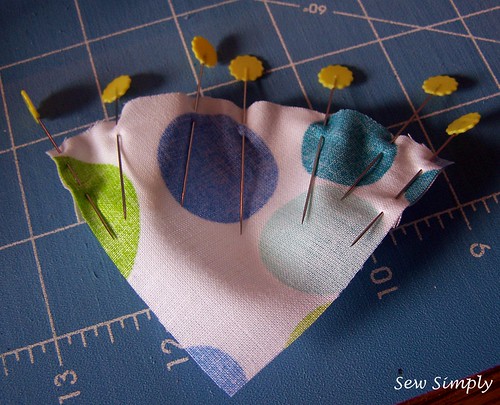
Today, I finally decided to give curved piecing a whirl.  I.HATE.IT.  Not that I'm bad at it, but it's SO tedious.... and I don't like pinning.  I'll be so glad when I finish the two blocks I need to do with curved pieces.

Okay, rant over. Does anyone have any tips on making it easier, or is curved piecing just one of those things that we do?

Here's a photo of my "progress."

Curved Pinning

Chain

Thanks for reading!
Cassie

Thursday, September 5, 2013

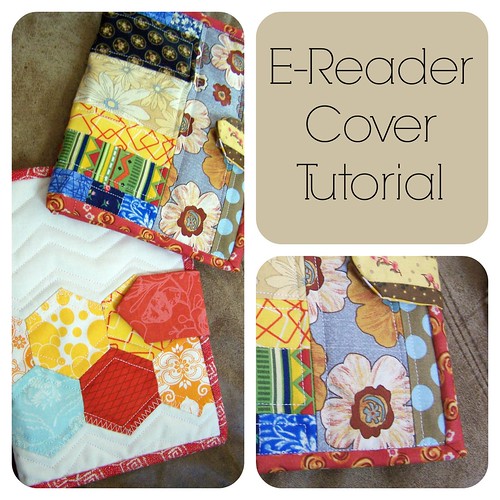
Hexie Nook HD Cover - Tutorial Thursday

Welcome to Tutorial Thursdays!

Sew Simply
Cover Tute Pin
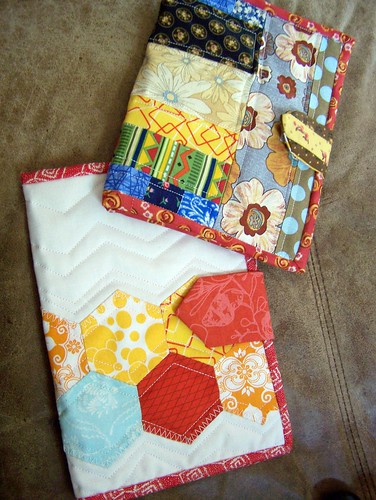
I got the idea to make a cover for my Nook HD.  I have a Lily Pulitzer cover that my mom gave me, but I want to make my own quilted one - and probably one for her too.

So here are my measurements The nook itself is 5" x 7-3/4"  Since my nook is about half an inch thick, and it needs to have a cover plus room for the quilting and lining, I'm going to double the width and add 2 inches. (5" x 2 = 10" + 2" = 12"), The height, I'll add 3/4" to make sure I have room for the elastic to hold the thing in, the dimensions of my quilted cover will be 12" x 8-1/2".

Materials Needed:
  • Quilted piece for the front conforming to the measurements we calculated above. (mine is 12" x 8.5")
  • 2 coordinating pieces for the lining which are cut 1/2" narrower and the same in height (instead of 12" cut 11.5" x 8.5")
  • A 1-1/2" WOF strip for binding 
  • Scraps for closure and pocket (pocket optional)
  • Velcro for closure
  • Elastic
  • Sewing Machine, Needle and Thread, and a lot of creativity!
All seams are 1/4" unless otherwise noted.
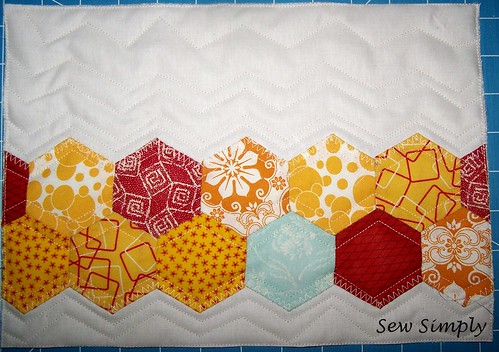
I chose to use a 12.5" quilt block that I already had constructed.  I quilted it and trimmed it to the size I noted above. 

Quilted

Creating the Closure

The next thing I did was create the closure.  You can choose any closure type you like, but I did a simple strap and velcro setup.  NOTE: You need to attach the closure BEFORE you attach the lining since the velcro is attached directly to the cover.

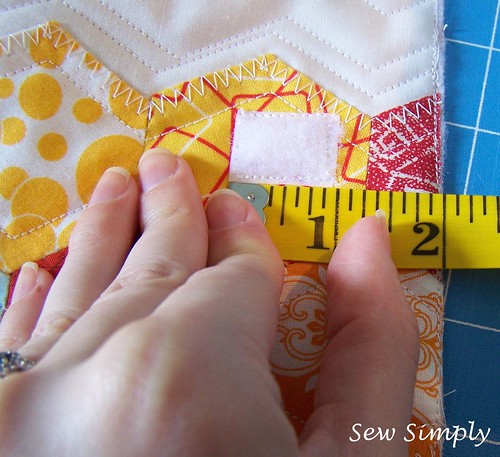
With the outside facing up (the right side of the quilt), the front of the cover is on the right.  Attach half of the velcro to this side.  Be sure to measure in from the edge a good two inches (as shown), and make sure the closure will be centered vertically.

velcro measure

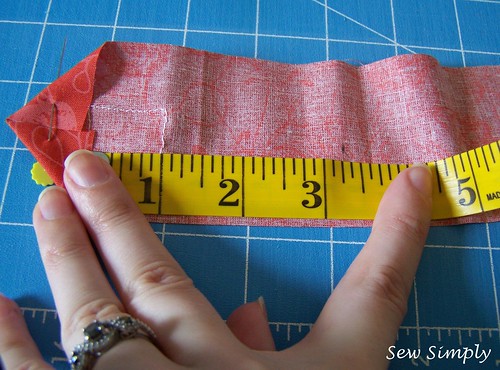
Cut out two pieces of fabric of choice for closure. I cut mine about 2 inches longer than the distance from the edge on the front (2" + 2" = 4" long). Attach the other half of the velcro to the right side of one of the pieces.

Strap Construction

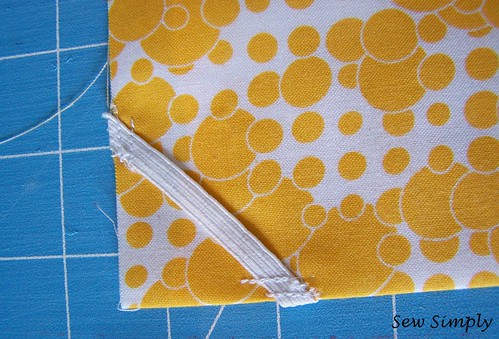
Sew the two pieces together, right sides facing each other.  Do not close in the flat edge (as shown below), that is how you will turn your strap right side out and attach it to the cover.  After it's stitched, you can trim up some of the fabric to reduce bulk once it's turned right side out, reduce bulk in any way desired - after this picture, I snipped off the point on my strap.

Strap Stitched

Attach the closure to the "back" of the cover (the left side) as shown. Now let's move to the lining.

Strap attachment

Making the Lining

For the lining, I used two pieces of the same blue fabric that the single blue hexagon is made from. Again, I cut them 1/2" shorter than the cover itself to create the pocket openings in the middle.

Lining unstitched

From here on out I used photos from a second cover that I made ---

If you desire: Use a light to medium interfacing inbetween the two halves of the lining (inside the fold).

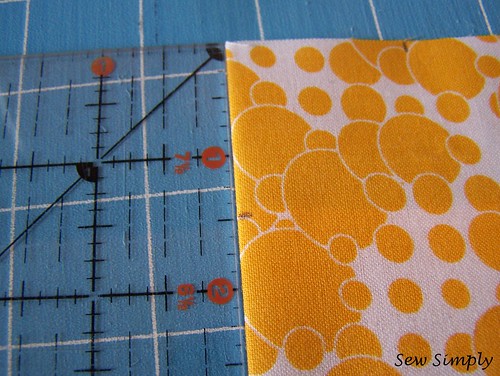
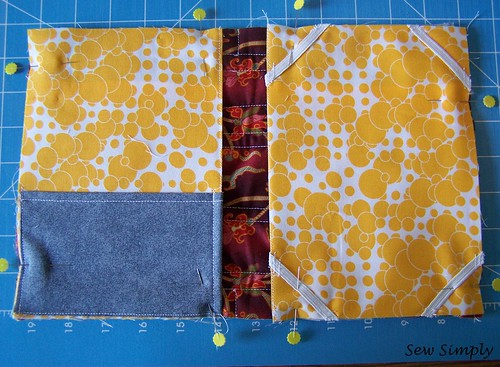
For the e-reader side: measure 1.5 inches in from all corners as shown below. This is your guide for attaching the elastic.

Measures

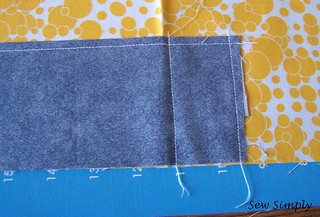
On all sides except the folded side (which will be the only side that is not covered with binding) stitch the elastic at 1/8" and 1/4" in.  This will help prevent the edges from folding in.

Elastic

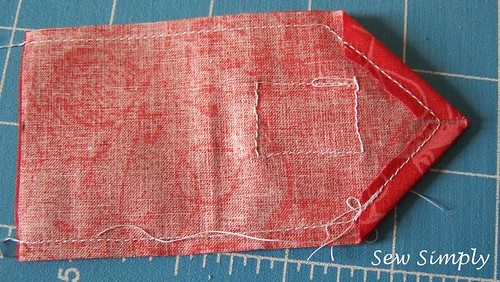
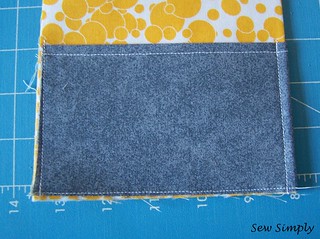
For the other side - I attached a simple pocket I salvaged from my scraps (optional).  I used these steps to construct it:

Pocket
This piece was a wider piece that I pressed in half and edge-stitched with a 1/4" seam.

Pocket2
I placed a seam near the folded part of the lining piece and another one further in to secure it.  Refold the fabric in half to finish attaching the pocket.

Attached Pocket
I used a rough 1/8" seam here, just to seal the bottom and side of the pocket.

Next, pin the two pieces of lining to the quilted outside cover. NOTE: Make sure you are pinning them to the correct sides.

Pins

Stitch the lining all the way around the whole cover (back-stitch if you want) with a 1/4" seam.

Bind with the 1.5" WOF strip.

Binding

And you're done! If you have any questions at all about this tutorial, feel free to leave them as a comment, or email them directly to me here.

Thanks for reading, and please share pics of your covers with me in my Flickr Group. I would love to see them!  :)

- Cassie 

Sew Simply

Now I'd like to see your tutorials and projects - Link up!
Wednesday, September 4, 2013

Anchor's underway

So, I finally decided that I could get over being upset with my brother enough to work on his Christmas quilt.  It's based on the design by Tula Pink (Anchors Aweigh).

Since he's in the US Coast Guard, I decided to do a patriotic theme - hence the red, white, and blue.   I did notice that some of the measurements of the negative space on this pattern are off by about a half-inch.  Everything seems to be lining up pretty well other than that, and it's coming along very well.

Anchor In Progress

Tomorrow I have a treat for anyone who stops by - I'm finishing up my e-reader tutorial for Tutorial Thursdays.  :)

Linking up with WIP Wednesdays at Freshly Pieced

Thanks for reading!
Cassie