Happy New Year!
It's been a while since I've had a minute to sit down and blog, much less work on anything other than Christmas gifts. So, I'm going to catch you guys up on what's up around here...
First with the WIP(s).
I've been working on a few patterns.
Bow Tie Required - I actually downloaded her pattern and have been working from that. My blocks were modified to be a bit smaller. :) I'm doing yellows, purples, and black for my blocks as well, rather than the teal and red.
Here is my new baby. My sweet husband picked her up for my Christmas present. On top you can see the fabrics I chose for my next quilt.. I can't finish a project before I've started thinking of my next one! I'm going to make the Bursting with Blooms quilt from the Feb 2014 issue of American Patchwork and Quilting (I might have already started cutting pieces for the appliques). Again modified to be black instead of the cream print. That is such a beautiful quilt!
I LOVE my new Elna, the throat is so wide... I FMQ'd a queen sized quilt with NO PROBLEM over the holidays.. I can't wait to work on something for me. :)
Now I want to share some HUGE news with you: I'm going to Impfondo, Republic of Congo in March with Mercy Ships on Field Service (a missions outreach). This is not my photo, so I take no credit. But I will be sure to post plenty when I return.
Last weekend I went to the opening reception for the first gallery showing that I have works in: Light/Dark. I don't think there are any photos from the event, they don't like cameras inside the gallery, which I'm appreciative of. The next exhibit is a fiber arts exhibit!! I'm really excited about that.
Thanks for reading!
Cassie
Linking up with Lee at Freshly Pieced for WIP Wednesday - oh wait, I already linked to her =D
Showing posts with label Quilting. Show all posts
Showing posts with label Quilting. Show all posts
Wednesday, January 15, 2014
Friday, August 30, 2013
Nook HD Cover {Tutorial Coming NEXT THURSDAY!}
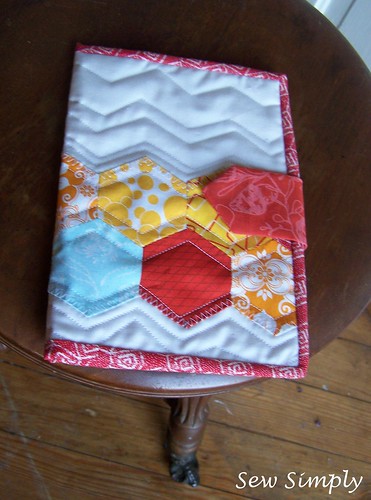
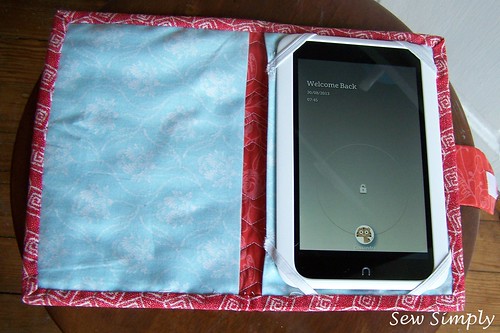
This week I finished this - a great quilted Nook HD cover. I stole my hexie stripe block from my Craftsy BOM 2012 to make it, so now I have to make another - oh darn!
I have some exciting news: next week for Tutorial Thursdays, I'm going to teach you how to make this cover for any electronic device you might have. :D I'm in the process of writing the tutorial now.
Grab my Tutorial Thursdays Button here:
Thanks for reading!
Cassie
Linking up with Crazy Mom Quilts for finish it up Friday!
Wednesday, August 28, 2013
Nearly... there.....
So, I've been really busy again this week - not necessarily quilting though (unfortunately). I did get a few more blocks done for my Craftsy (2012) BOM series. I'm definitely liking my choices of fabric more and more as I continue.
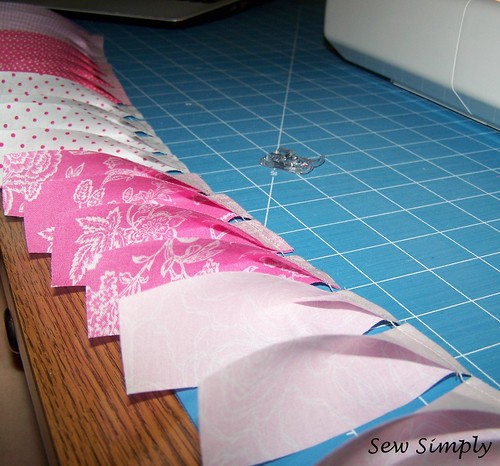
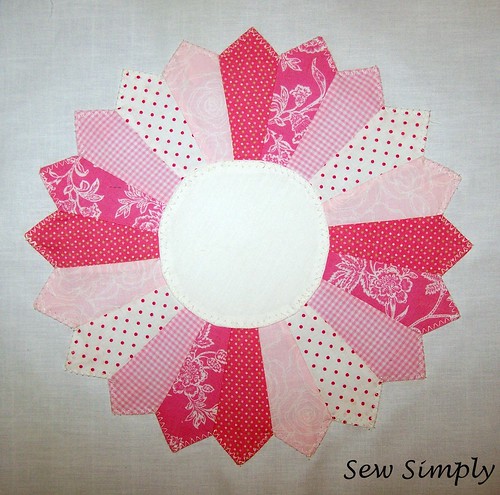
No matter what I tried, I could not get the white background fabric to show as white. Probably because I took it on my blue cutting mat (as I do with so many other things), and that is shining through the Kona Snow... oh well. Still not bad for my first Dresden ever.
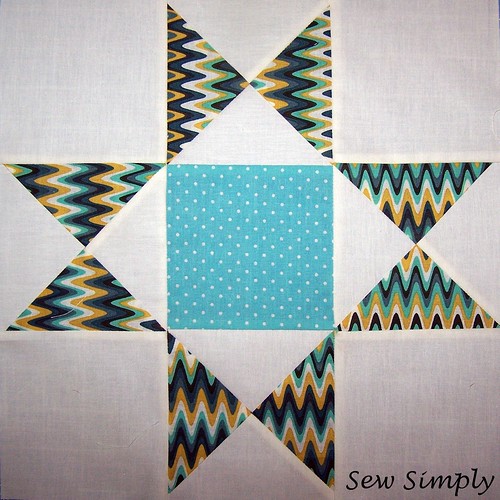
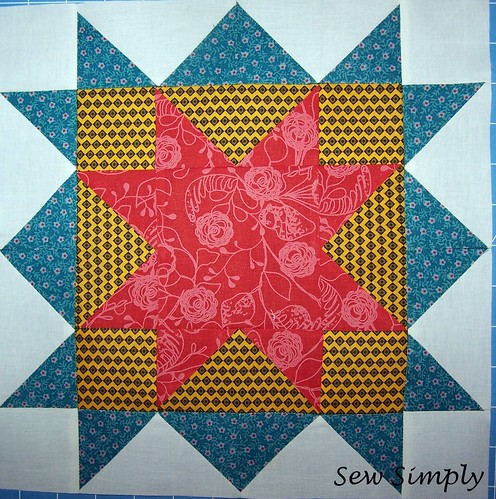
I'm still not completely satisfied with the points on this one.
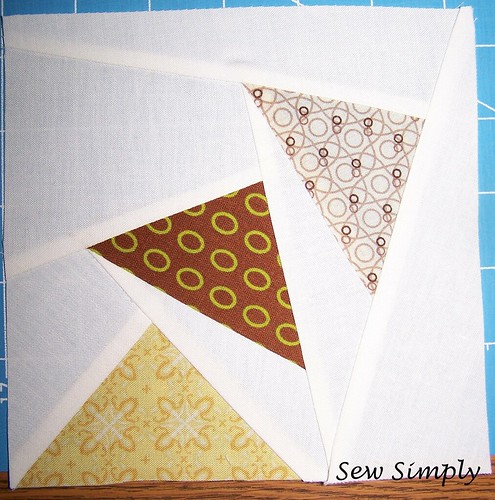
Lastly, my in progress circle of geese block. I should finish this one in the next hour, and hopefully the remainder of the blocks today or tomorrow (there are only 4 left!)
Lastly, be sure and come back tomorrow for Tutorial Thursdays! It's a link party where I'm sharing a tutorial, and asking you to do the same. :)


No matter what I tried, I could not get the white background fabric to show as white. Probably because I took it on my blue cutting mat (as I do with so many other things), and that is shining through the Kona Snow... oh well. Still not bad for my first Dresden ever.


I'm still not completely satisfied with the points on this one.

Lastly, my in progress circle of geese block. I should finish this one in the next hour, and hopefully the remainder of the blocks today or tomorrow (there are only 4 left!)
Lastly, be sure and come back tomorrow for Tutorial Thursdays! It's a link party where I'm sharing a tutorial, and asking you to do the same. :)

Wednesday, August 21, 2013
Block Progress
My A.D.D. self has started another project. Last week (I think), I blogged about wanting to start the Craftsy BOM series from 2012. I just loved Amy Gibson's choice of blocks, so I told myself, "you can make one block a day, and that's that." - Plus I just so happened to have a few yards of Kona Snow, the fabric she chose as her background fabric, so I took that as a sign.
Anyway, I wanted to share with you my progress so far. I've got 7 blocks completely done, and one 3/4 done - my husband wanted to call it early last night so we could go for a run this morning... out of respect for the light sleeper, I turned off the sewing machine.
Here's what I've made so far on this project:
Well, that's about all for now! Finishing up the Broken Spider Web block today, and going to go pick up ink for the printer so I can do my hexie blocks.
Linking up with WIP Wednesdays @ Freshly Pieced
Anyway, I wanted to share with you my progress so far. I've got 7 blocks completely done, and one 3/4 done - my husband wanted to call it early last night so we could go for a run this morning... out of respect for the light sleeper, I turned off the sewing machine.
Here's what I've made so far on this project:
January Blocks
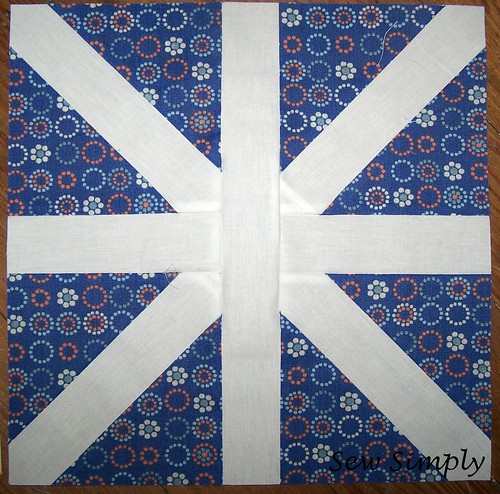
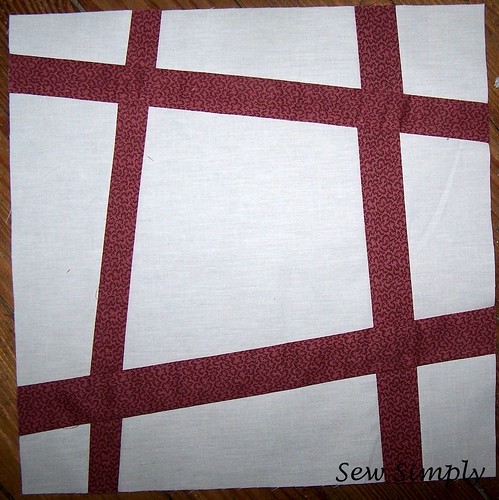
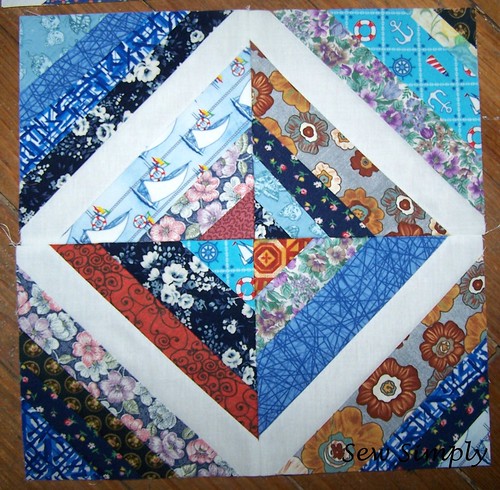
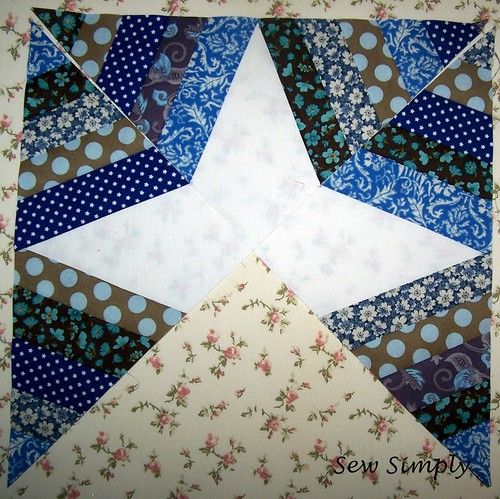
The Asterisk Block
Slashed Pound Sign
February Blocks
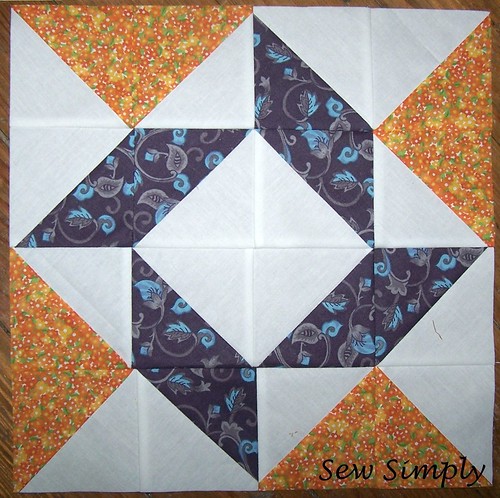
The Balkan Puzzle - this one has been one of my faves so far :)
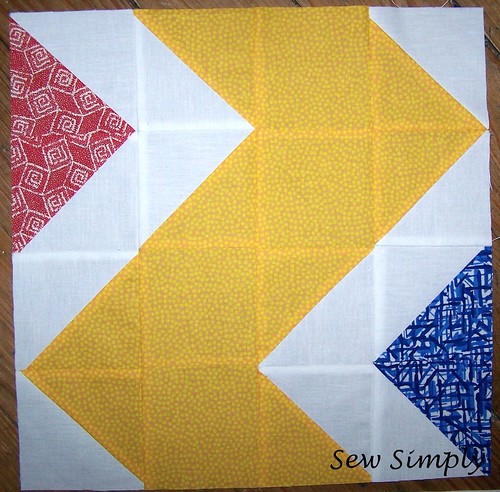
Chunky Chevron
March Blocks
String Block
The IN-PROGRESS Broken Spider Web
April Blocks
These are hexie blocks which I haven't done because, frankly, my printer is out of ink!
May Blocks
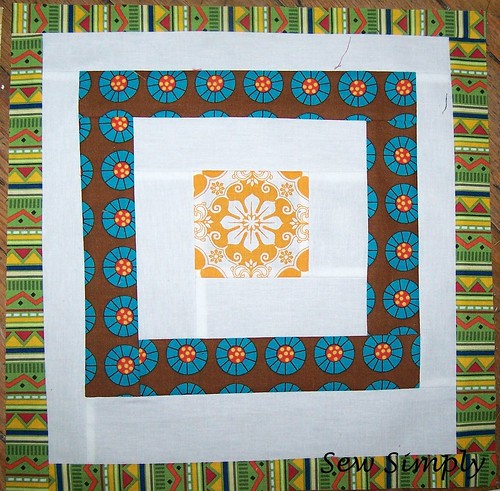
Modern Frame Log Cabin - I really enjoyed the improv blocks.. I'm thinking about making an entire quilt of either a May block or something from March... but that's in the future.
5-sided Wonky Log Cabin
Well, that's about all for now! Finishing up the Broken Spider Web block today, and going to go pick up ink for the printer so I can do my hexie blocks.
Linking up with WIP Wednesdays @ Freshly Pieced
Thursday, August 15, 2013
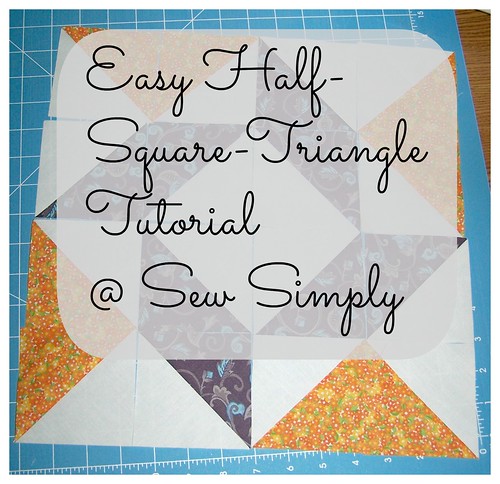
HST Tutorial (Tutorial Thursdays #2)
Good morning everyone! This week I'm going to show you my amazing magical HST trick, it's probably not new, but I think pictures and a written set of instructions help. At the end I really want to see what you guys have been working on as far as projects from a tutorial - or even your own tutorial! I'm very new to quilting, so I will definitely try out whatever you share with me, then come back and show you what I've done.
So I'm going to get on with it.
The first thing to remember is that we're going to be sewing together 2 squares all the way around the edge with a 1/4" seam, closing them in together. You want to start with two squares that are 2 inches larger than the size of your HST. Each set of two squares will yield 4 HSTs. I made 3.5" HSTs so I started with 5.5" squares of fabric.
Materials for 4 HSTs:
Two blocks of material 2" larger than the desired size of your HST.
Rotary cutter
Mat
Ruler
Sewing Machine
Directions:
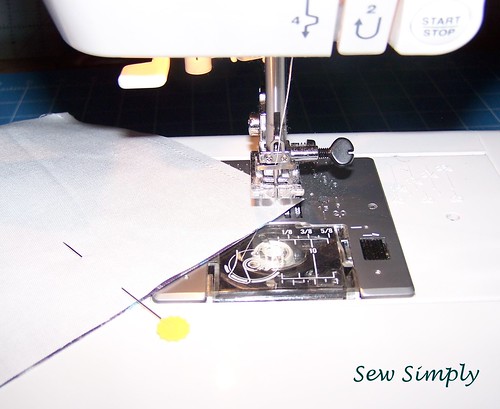
Next take the blocks to the machine. Start about 1/4" away from a corner (doesn't matter which, we're going to go all the way around this puppy.) With your needle down, turn the corner 1/4" away from the end of each side. Don't worry if you go over a little - I just backstitched a few stitches and turned. The important thing is maintaining a good 1/4" border around the entire block.
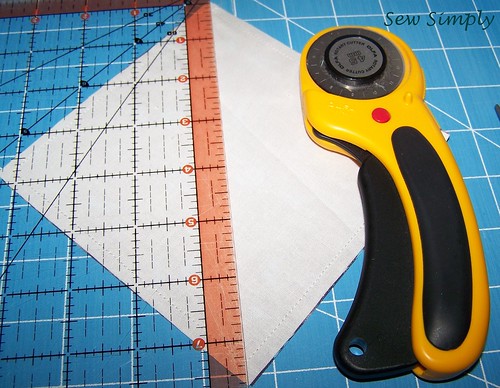
After you're done stitching around all 4 sides, take the block to the cutting mat. Line up your ruler diagonally from one corner to the corner across from it. Cut. Flip the triangles and cut again - to get what looks like a QST with all 4 closed.
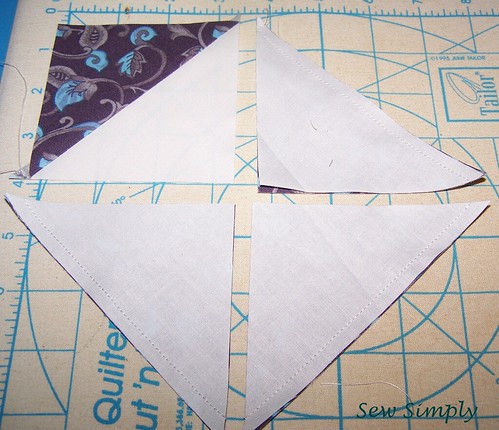
Then, press. *Enter Darth Vader* Quilters always press to the dark side. :) Trim the dog ears, and then you are finished constructing your HST.
Tutorial Thursdays - A New Linky Party
Please be sure and link back to my blog in your post, using either my button (below) or a text link. <3 data-blogger-escaped-br=""> Grab my button!

So I'm going to get on with it.

The first thing to remember is that we're going to be sewing together 2 squares all the way around the edge with a 1/4" seam, closing them in together. You want to start with two squares that are 2 inches larger than the size of your HST. Each set of two squares will yield 4 HSTs. I made 3.5" HSTs so I started with 5.5" squares of fabric.
Materials for 4 HSTs:
Two blocks of material 2" larger than the desired size of your HST.
Rotary cutter
Mat
Ruler
Sewing Machine
Directions:
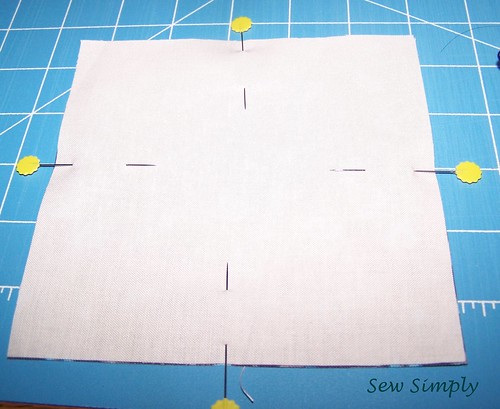
The first obvious step is to pin your squares together. This will keep them from shifting when you are sewing all the way around the edges.
Next take the blocks to the machine. Start about 1/4" away from a corner (doesn't matter which, we're going to go all the way around this puppy.) With your needle down, turn the corner 1/4" away from the end of each side. Don't worry if you go over a little - I just backstitched a few stitches and turned. The important thing is maintaining a good 1/4" border around the entire block.
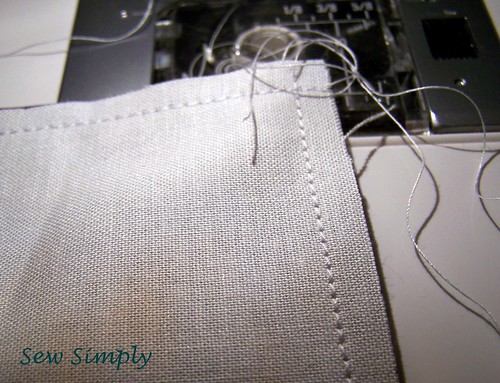
This is what my corners looked like. Maintain the 1/4" seam around the whole edge and you'll be fine.

After you're done stitching around all 4 sides, take the block to the cutting mat. Line up your ruler diagonally from one corner to the corner across from it. Cut. Flip the triangles and cut again - to get what looks like a QST with all 4 closed.

Then, press. *Enter Darth Vader* Quilters always press to the dark side. :) Trim the dog ears, and then you are finished constructing your HST.

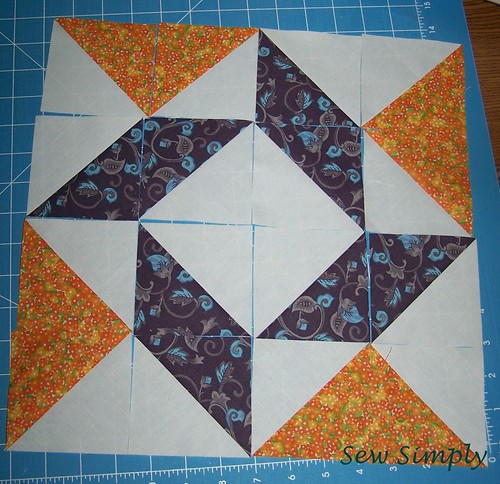
I found this method to be much quicker than the traditional HST method. I think you will too. Plus you don't end up with a mark on your fabric.
Tutorial Thursdays - A New Linky Party
Please be sure and link back to my blog in your post, using either my button (below) or a text link. <3 data-blogger-escaped-br=""> Grab my button!

Wednesday, August 14, 2013
Progress...
I have been dragging this one out.. but it's coming along! I'm hand quilting it, and during my down time at the flea market that I helped my parents with last weekend, I sat in the shade and quilted. It was amazing how many people came up and wanted to admire my work and give me compliments for being a "young quilter." It makes me proud to know that I am taking up an art and past-time and making it mine.
The Quilt Sandwich.
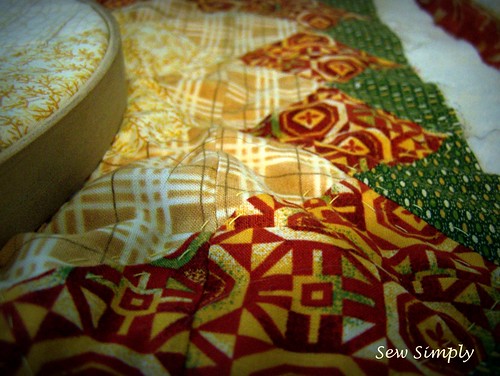
In the hoop.
I love my mom. She is always giving me things - I try to do the same for her (Something I think will be easier after I start getting paid!). Last week I gave her a rotary cutter and mat - she had been eyeing them for a while, so I made the buy for her. :-) I got her a nice little Fiskars set:
Cutter (came with a bonus pair of scissors!)
Self-healing Mat
Since her sewing room isn't as big as mine (how did I get so lucky?) I gave her the 18"x 24" mat.
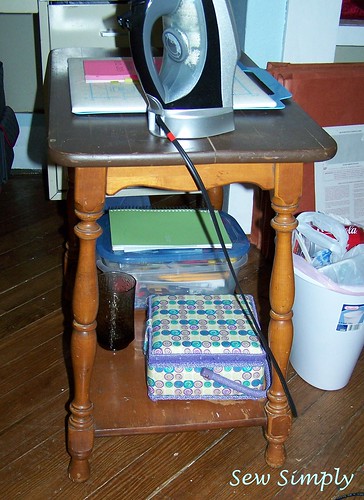
Anyway, this past weekend I helped them do a flea market type sale (that I was talking about above..) My parents are something of a pair of pickers. So they had tons of treasures to take to the sale, I'm thinking if my back was crying this much afterward, I feel sorry for my dad's back! In the sale, she had this fantastic table that I had my eye on for a new pressing table for my sewing room.

In the hoop.
So now, I might not be done with it this week. Especially since my fingertips are complaining! I think I might go back to piecing something for a while.. thinking about doing the Craftsy BOM 2012 series - better late than never! I'll share that if I decide to get started on it. By the way, if you haven't already, check out Craftsy - they have tons of free patterns and the awesome BOM classes (one for last year, and one for this year.)
Addition to my sewing/craft studio. :)
Addition to my sewing/craft studio. :)
I love my mom. She is always giving me things - I try to do the same for her (Something I think will be easier after I start getting paid!). Last week I gave her a rotary cutter and mat - she had been eyeing them for a while, so I made the buy for her. :-) I got her a nice little Fiskars set:
Cutter (came with a bonus pair of scissors!)
Self-healing Mat
Since her sewing room isn't as big as mine (how did I get so lucky?) I gave her the 18"x 24" mat.
Anyway, this past weekend I helped them do a flea market type sale (that I was talking about above..) My parents are something of a pair of pickers. So they had tons of treasures to take to the sale, I'm thinking if my back was crying this much afterward, I feel sorry for my dad's back! In the sale, she had this fantastic table that I had my eye on for a new pressing table for my sewing room.
I
think that it didn't sell because it has this crack in the top.
Something I wasn't so worried about, since I'm covering the top with
layers of batting and fabric to create my pressing surface. Planning to
make my first tute over this as well - repurposed table. I just need
to decide which type of fabric I want to use - I'll be looking at it
nearly every day, so I want to love it! - SUGGESTIONS?
That's all for now!
Cassie
Labels:
Hand Quilting,
Life,
Quilting,
Table Runner,
Tools
Thursday, August 8, 2013
Tutorial Thursdays - WEEK 1
So, I got a novel idea today. There are all these great tutorials that people do - I want to know what you guys are working on. As a fairly new face to the sewing/quilting game, I realize that I might be recreating the wheel here. There are tons of compilation blogs of tutorials (i.e. Moda Bake Shop, etc.), but I want to see your work.
Here is my promise: every week (after this one - because, of course, I only thought of this after Thursday started!) I'll post a linkup that starts at 12:00 am CST, and ends at 11:55 pm CST.
The only rules are: you must comment on the few links before your own, and to have fun. Of course, copyright stuff should be honored and credit should be given where they're due.
Here's what you can post: If you have your own tutorial that you made for your readers, you can post it in my weekly link-up: Tutorial Thursdays. If you are working on someone else's tutorial, you can link up a post on your progress. Just be sure to give the original author of the tutorial credit!
So, to kick things off: I'll post a link to a tutorial that I'm working on - I don't think that I'm skilled enough to create my own tutorial yet.
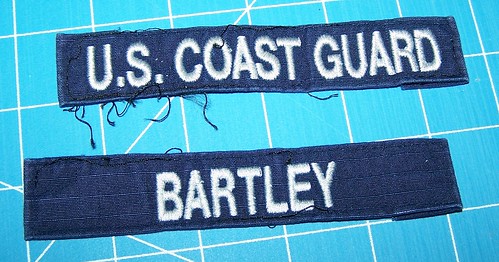
This is Anchors Aweigh by Tula Pink. I am creating it for my little brother who is about to end his time in the US Coast Guard. I talked about in a previous post that I got my hands on a few of his old uniforms, and I'll be incorporating those into the quilt. The anchor will be shades of blue...
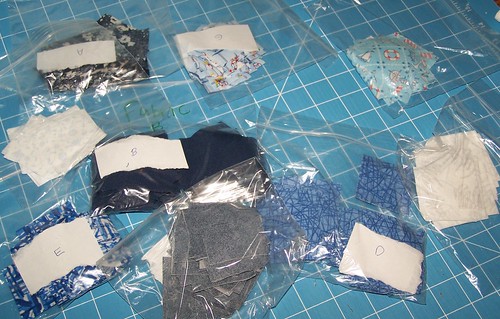
Here are the squares... ALL of the squares. The darkest blue (fabric B) squares are cut from his uniforms.
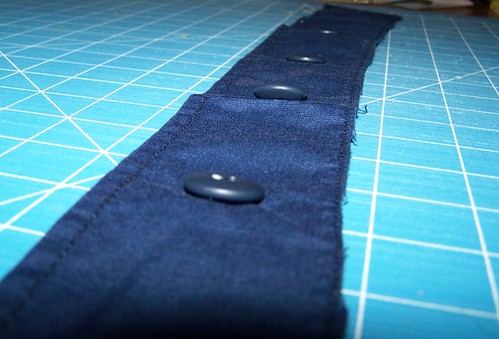
Since his uniforms have all these embellishments:
I really want to incorporate those as well.. Please leave me any suggestions you have for incorporating those in the comments below. I have about 5 uniform shirts which have all of the above embellishments.
Lastly, since it's to honor military service, I plan to use red and white solids as the negative space fabrics.
Honestly, after it's done, I might just keep it for myself. ;-) Or make another in Tula Pink's fabrics that it was designed for! I just need to get my hands on them.
Thanks for reading!
Cassie
Okay, so here's my favorite part: show me what you're working on!!
Wednesday, July 31, 2013
Table Runner - In Progress!
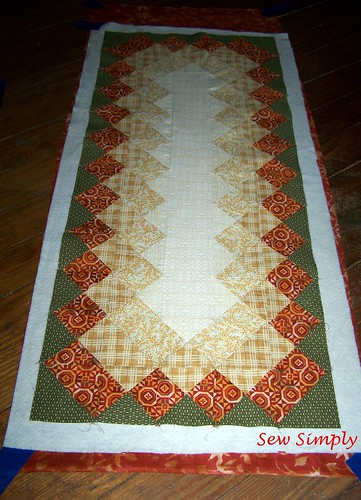
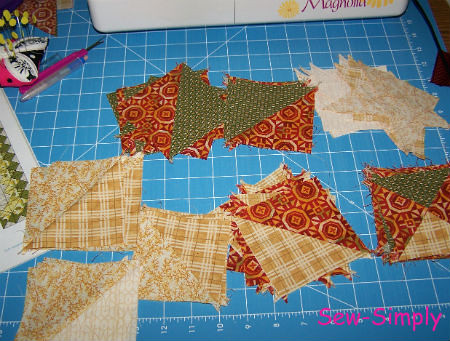
I decided to give QST (Quarter Square Triangles) a new try for my table runner. I modified my design from a piece I found in a magazine I bought from the dollar store (Quilt It Today). My modified design matches the accent wall in my living room, and is a bit longer because we have an abnormally large coffee table. You can see a little snip-it of the pattern to the left there in the photo.
So here are all the little QST's and HST's waiting to be turned into Quarters for my runner.
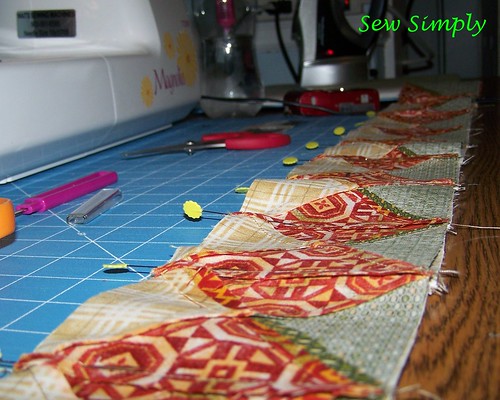
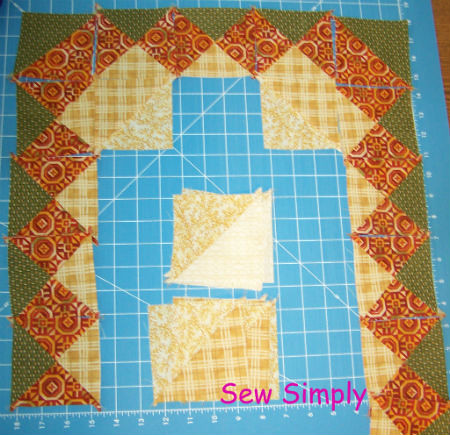
Here you can kind of see the design starting to come together. I still have a ways to go.
I think the colors are nice, and there's a nice mix of patterns. Planning to hand quilt this one - bought my little hoop yesterday. Hopefully I'll finish it soon.
My other big project is texturing and painting my living room. My husband and I live in a 103 year old home in Tyler, TX, and it was in desperate need of some TLC when we moved in. Two of the walls in the living room were suitable for paint right off, but the other two had some cracks that needed repair. We did that, and now I'm to the texturing part. I have to do it in small bits, as it's 100+ degrees outside, and our A/C struggles as it is. (in other words: it's HOT!)
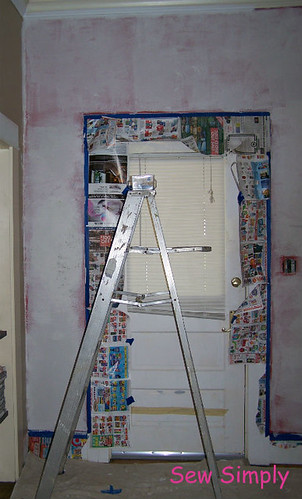
I really cannot wait until our house is finished. Next thing I'm tackling after the living room is the kitchen. Right now, I'm thinking open shelves up top, and I have some really nice cabinets that I'm going to refinish for the bottom. We're doing a retro theme. It'll be nice!
Lastly, a little painting I've been working on since I was featured in the Downtown Tyler Art Walk back in June. I started it as a demo for mixing paint from primary colors. This is how it has evolved since then. I still feel like it's a WIP.
 Well, now you all know why I have cut back on my sewing/quilting the past few days.
Linking up with Lee over at Freshly Pieced for WIP Wednesday - Freshly Pieced
So here are all the little QST's and HST's waiting to be turned into Quarters for my runner.

Here you can kind of see the design starting to come together. I still have a ways to go.

I think the colors are nice, and there's a nice mix of patterns. Planning to hand quilt this one - bought my little hoop yesterday. Hopefully I'll finish it soon.
My other big project is texturing and painting my living room. My husband and I live in a 103 year old home in Tyler, TX, and it was in desperate need of some TLC when we moved in. Two of the walls in the living room were suitable for paint right off, but the other two had some cracks that needed repair. We did that, and now I'm to the texturing part. I have to do it in small bits, as it's 100+ degrees outside, and our A/C struggles as it is. (in other words: it's HOT!)

I really cannot wait until our house is finished. Next thing I'm tackling after the living room is the kitchen. Right now, I'm thinking open shelves up top, and I have some really nice cabinets that I'm going to refinish for the bottom. We're doing a retro theme. It'll be nice!
Lastly, a little painting I've been working on since I was featured in the Downtown Tyler Art Walk back in June. I started it as a demo for mixing paint from primary colors. This is how it has evolved since then. I still feel like it's a WIP.
 Well, now you all know why I have cut back on my sewing/quilting the past few days.
Linking up with Lee over at Freshly Pieced for WIP Wednesday - Freshly Pieced

Friday, July 26, 2013
Machine binding and the finished baby quilt
I did it! I finally finished a whole quilt all by myself! While it's not perfect, it is done. I did not expect perfect for my first quilt, anyway.
Here are links to a few things that helped me:
Machine binding tutorial at Cluck Cluck Sew
Tutorial for Baby Lattice Quilt Top
I also watched a free class on Craftsy from Elizabeth Hartman on creative quilt backs. :)
Lessons learned: don't machine quilt without the right presser foot. I'm both too broke, and unsure of where to buy the right foot. I'm uneasy buying one online because I can't find one that has my machine's model number specifically listed. So, until I can catch Wait's open, and I have the money for the walking foot, and darning/free-motion (still don't think I have the guts for that..), it looks like I'll be trying my hand at hand-quilting for the next one. I'll show you why in a minute...
The machine quilting/binding process I went through -
Quilting:
I decided to grid my quilt top. Using the regular straight stitch presser foot both cause bubbling in my fabric when stitches crossed and it caused a lot of shifting in the quilt top.
So before I machine quilt another quilt, I'll be getting the proper equipment. Other than that... it wasn't bad!
Binding:
I am so not used to taking pictures during any of my processes.. but I did manage to remember to take a few. :) If you want to know where I got the original tutorial that I read for machine binding it can be found here.
First, I started with the typical strips of fabric used for binding. I needed 5 strips joined to complete my quilt. I chose to use the same baby footprint fabric that is featured on my quilt back in the pieced strips and squares.
After squaring my quilt and trimming the excess back/batting, I pinned my binding strips to the edge and took it to my machine.
I was a little nervous about going over or under on my seam allowance on this. Though in hindsight, I shouldn't have been. I had plenty of room once I turned my binding to the back. I'll show you what I mean:
The stitch line on the top is after binding the back of the quilt. There's a good 1/4" - 3/8" difference there. Granted, this was my first corner, and I did improve as I went on, but still, good to know :)
Anyway, back to the process:
As you continue binding on the front side of the quilt and approach a corner, simply stitch to right before the end, and turn your fabric, as shown:
Start stitching at the very end again. I did a couple back-stitches since I know baby quilts go through the wash quite a bit.
After you finish binding the front turn the binding to the back and pin in place, especially around the mitered corners. :)
The tutorial says to stitch the back just to the left of the original stitch showing on the back from the front side. Since I don't have a walking foot, and I was fighting to keep everything lined up and feeding through my machine properly, I didn't manage this so well at the start. Again, after I got the feel for it, I improved.
Anyway, here are a few pictures of the finished baby quilt:
Full Quilt Top
Back detail and front corner turned.
Front detail and back corner turned.
Final dimensions are 45" x 37"
Thanks for reading!
Linking up with Crazy Mom Quilts for finish it up Friday! Hope to have another next week :)
- Cassie

Subscribe to:
Posts (Atom)


