
So I'm going to get on with it.
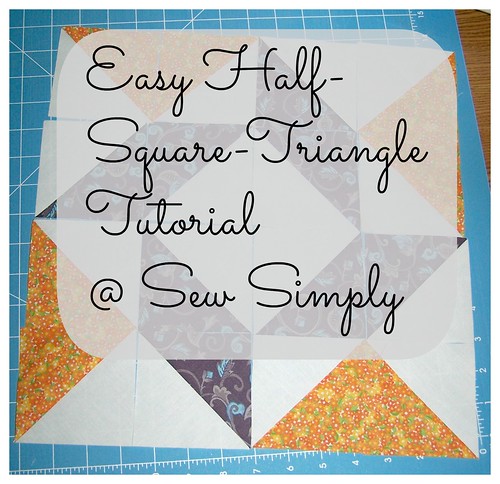
The first thing to remember is that we're going to be sewing together 2 squares all the way around the edge with a 1/4" seam, closing them in together. You want to start with two squares that are 2 inches larger than the size of your HST. Each set of two squares will yield 4 HSTs. I made 3.5" HSTs so I started with 5.5" squares of fabric.
Materials for 4 HSTs:
Two blocks of material 2" larger than the desired size of your HST.
Rotary cutter
Mat
Ruler
Sewing Machine
Directions:
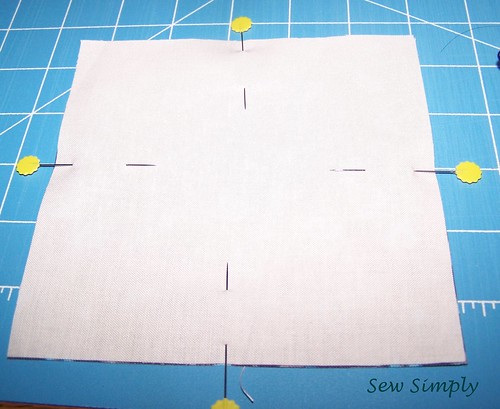
The first obvious step is to pin your squares together. This will keep them from shifting when you are sewing all the way around the edges.
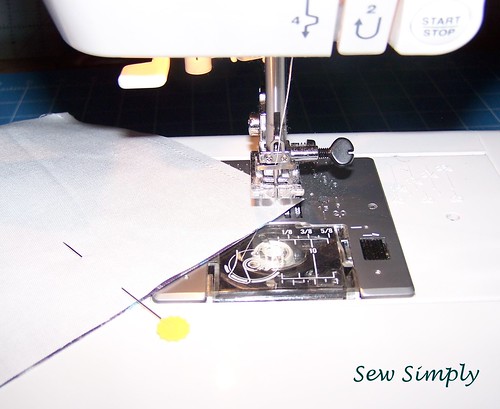
Next take the blocks to the machine. Start about 1/4" away from a corner (doesn't matter which, we're going to go all the way around this puppy.) With your needle down, turn the corner 1/4" away from the end of each side. Don't worry if you go over a little - I just backstitched a few stitches and turned. The important thing is maintaining a good 1/4" border around the entire block.
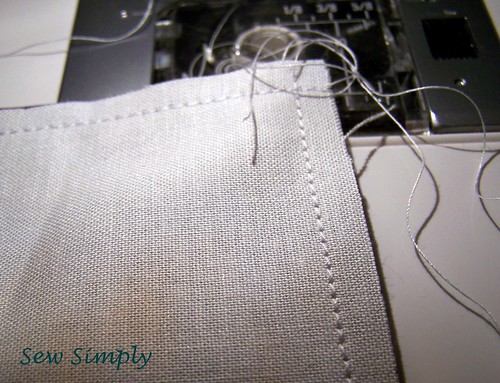
This is what my corners looked like. Maintain the 1/4" seam around the whole edge and you'll be fine.
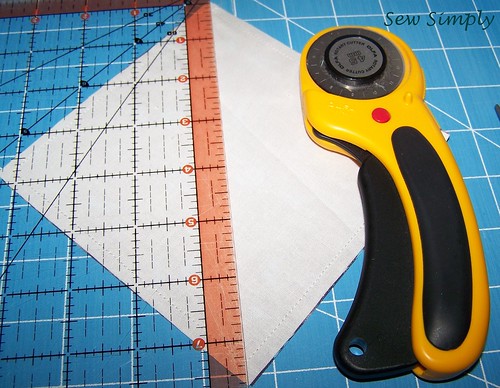
After you're done stitching around all 4 sides, take the block to the cutting mat. Line up your ruler diagonally from one corner to the corner across from it. Cut. Flip the triangles and cut again - to get what looks like a QST with all 4 closed.
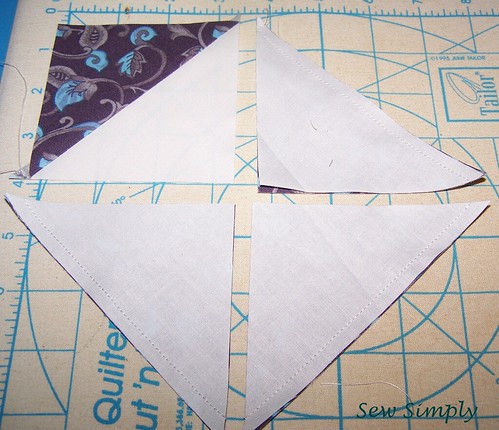
Then, press. *Enter Darth Vader* Quilters always press to the dark side. :) Trim the dog ears, and then you are finished constructing your HST.
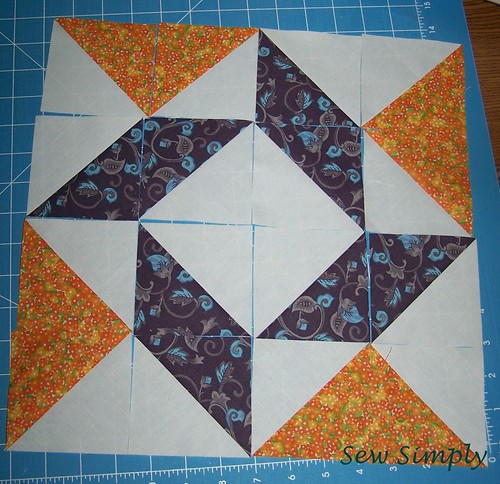
I found this method to be much quicker than the traditional HST method. I think you will too. Plus you don't end up with a mark on your fabric.
Tutorial Thursdays - A New Linky Party
Please be sure and link back to my blog in your post, using either my button (below) or a text link. <3 data-blogger-escaped-br=""> Grab my button!

No comments:
Post a Comment