

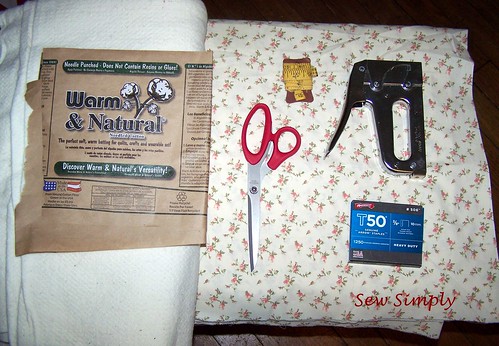
I used 3/8" staples - they worked just fine.
The fabric is a heavy cotton, but not quite a decorator weight.
Since you'll most likely be ironing cotton on your pressing board, you want to use a cotton batting for the pad.
The first thing you want to do is sweep! Make sure your floor is pretty clean. I have OLD wooden floors, so dirt gets trapped in the cracks, but make sure the surface you'll be laying your materials on is fairly clean.
Measure the table. Write this down. You'll be adding inches to this measurement for the padding and cover.
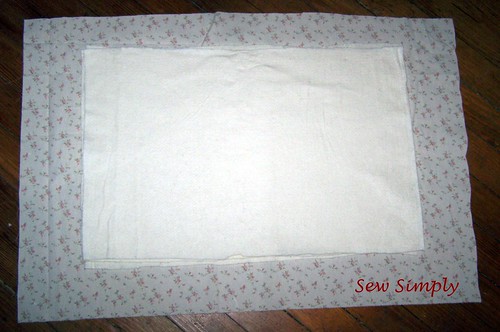
Cutting the fabric piece. Depending on the height of the table top (the thickness of the piece on top that you'll be stapling to), you'll want to give yourself between 2"-5" extra fabric on all sides. I was not very comfortable with the whole process, so I gave myself a lot extra - about 4" on all sides. Place this face down on the floor.
Cutting the padding. I cut 3 pieces of batting - I like a fairly firm surface to press on, but you can cut more if you like yours softer. I cut my pieces 1" over on all sides, enough to go around the edge of my table - no one likes a crease in their fabric from the edge of their pressing board. Place these centered on top of the already face down fabric piece as shown here:
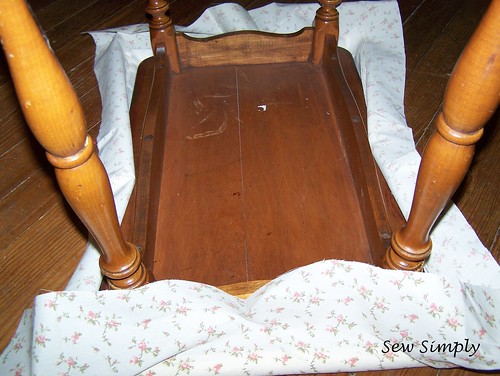
Next you'll place the table top down on the stack you just made. Without pulling the stack out of place, place a single staple on one side of the table. Once this staple is in place, move the opposite side of the table. Pull this side tight, and place another staple. Repeat for the remaining sides.
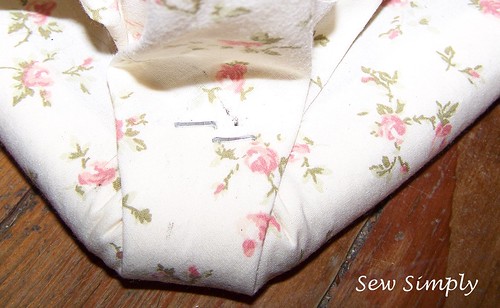
For the corners: pull the fabric tight, parallel to the leg. Depending on how round the corners of your table are, you will have a sharp point, or a flat one like mine.

Double staple the fabric as flush as you can get it to lay on the corner. Pulling the fabric tight and stapling it will ensure that you don't end up with bubbles in your pressing surface. Since I borrowed the stapler from my husband's tool box, it left some dirty spots around my staples - but I'm not that worried about it, they are on the bottom.
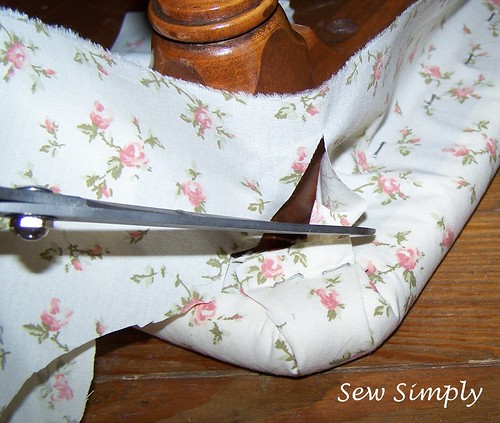
Just trim up the excess fabric, and you're finished!
++++

Thanks for reading!!
-Cassie
Nicely done! I need one of these! Thanks for linking up to TGIFF!
ReplyDeleteIt is WAY better than the little pressing board I was using. Easier than I expected to make too!
DeleteThanks for the kind comment :) I appreciate it